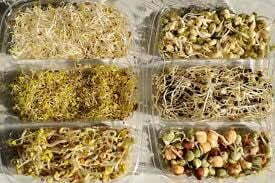
Various germinated seeds
On the 15-16 March a meeting for the exchange of local seeds was held at the Bizitoki country house hotel in the beautiful province of Baxe Nafarroa (Pyrénées-Atlantiques) which we attended with great interest.
At this meeting two open workshops were held . The first was on ” Sprouts” for food use and the second on the “Use of the acorn in human nutrition”.
In this article we want to share what we´ve learned at the workshop on homemade germination because we believe that is an interesting resource, also integrated into the world of natural vegetable milks.
Why eat sprouts ?
The objective is to increase the nutritional potential of the seeds through germination. When germination of any seed is provoked, it´s nutrients are transformed . Germination significantly increases the amount of vitamins and enzymes. Moreover, proteins , carbohydrates and fats are broken down and become more digestible .
How toconsume them:
You can start using them as a decorative touch to your salads, use them to make veggie burgers, add them to a bowl of cooked cereals, include them in the natural plant milks … and experiment in other recipes slowly as the sprouts have a very strong taste and can be a little overpowering. It´s very important to note that to get a significant nutritional benefit, you have to eat at least 30 grams of sprouts per person.
For more recipes, visit growyouthful.
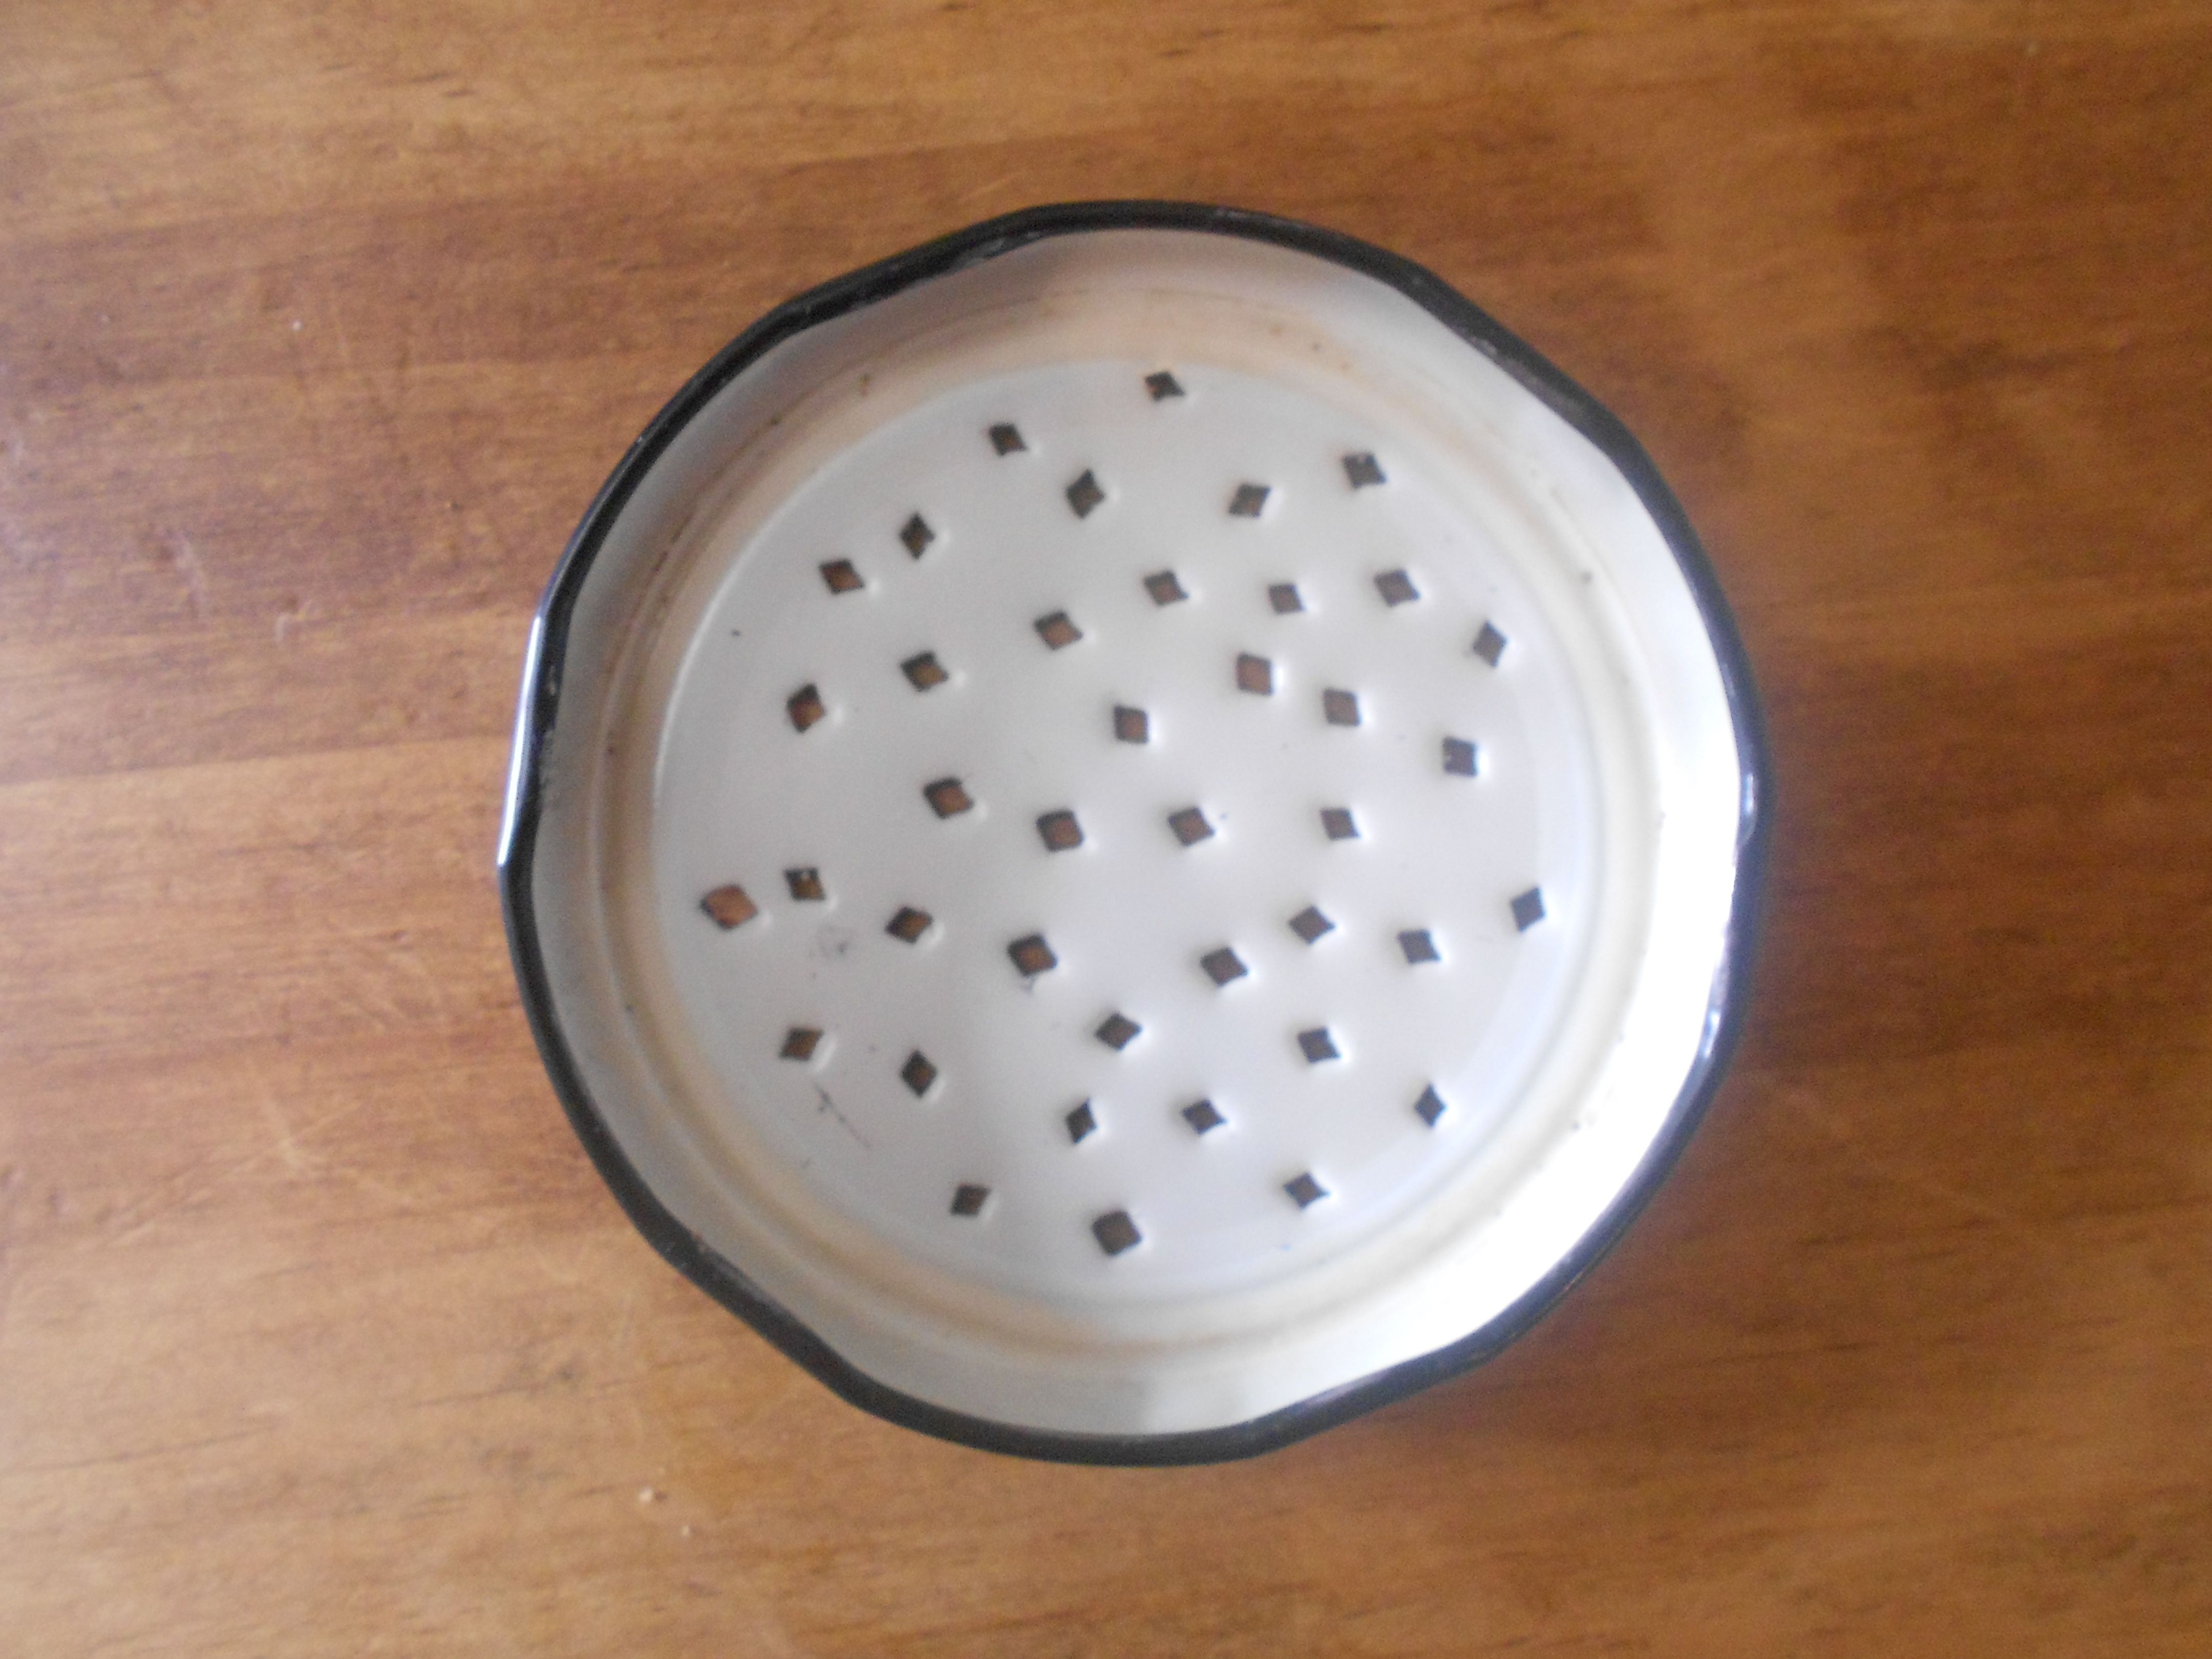
Homemade germination jar lid.
How to make a homemade jar sprouter
We use a glass jar and metal lid.
With the help of a hammer and a large nail, puncture the lid making some small holes, like a sieve. This is done by placing the lid upside down on a table and tapping it with a hammer and nail . To finish it off , you can sand the burr left on the top. It is very simple and can be done with the help of the kids @ home.
If you do not have a decent watering can, the germinator jar can be ideal for this function!
Basic Tips for germination in glass jars
This method is very useful for germinating seeds of legumes (lentils , chickpeas , soy … ), cereals (rice , wheat … ) or sunflower seeds , pumpkin, even small seeds such as alfalfa , cabbage .. . , but it is not the most suitable for small mucilage like rucula , flax , watercress … for this type of seed it is best to use germination dishes. The germination process in this case should occur in a well ventilated area so that the seeds don´t rot.
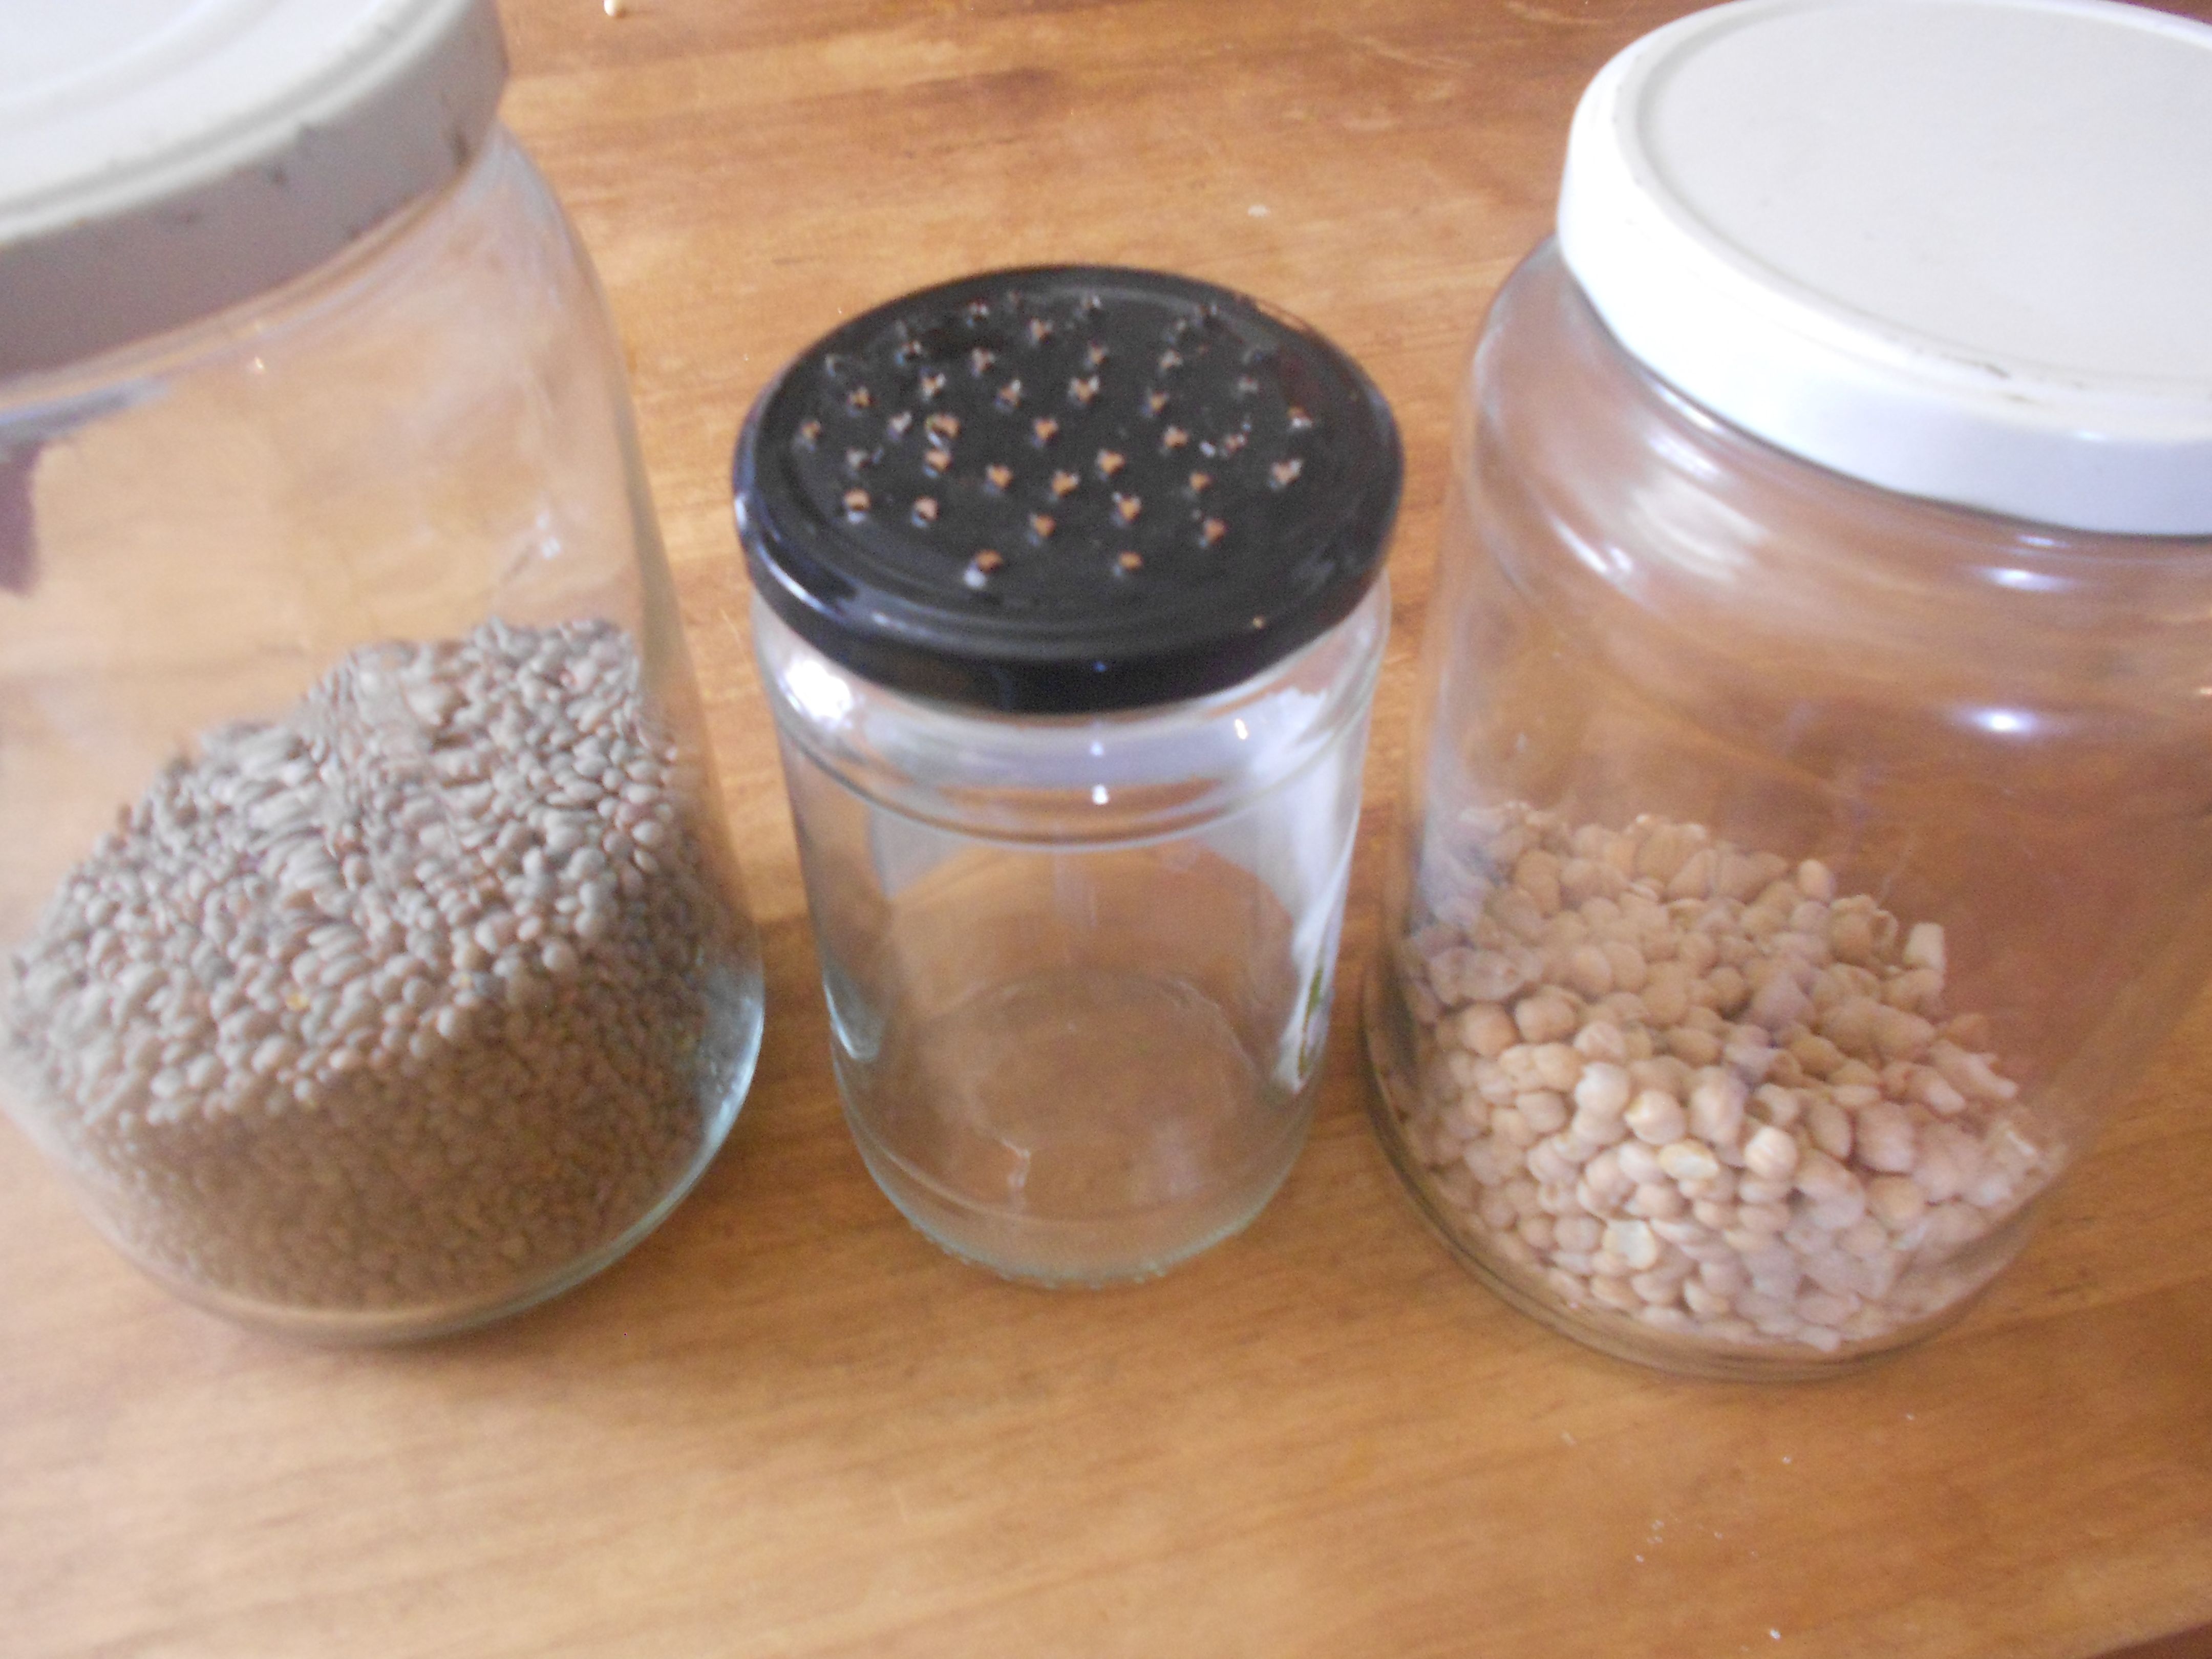
Germination jar and seeds that can be germinated.
Basically, germination artificially mimics the humidity and temperature necessary for the seed to germinate.
- The seeds must be whole and organic ones.
- First the seeds are left to soak overnight in the glass jar.
- When germinating legumes (lentils , chickpeas ..) don´t fill the jar past the ¼ way mark, for the second day they become very large and may fill up the entire space.
- Make sure the seeds are kept moist and don´t dry out entirely, this process should be repeated at least once a day.
- After moving the water, leave the jar upside down in a place where the temperature is between 18-20 ° C. A higher temperature accelerates the process, and a lower temperature slows down the process.
Germination jar resting in the dish rack after straining (recommended)
- Cover the jar with a cloth to avoid light which further strengthens the root. If we let in light, the green part will be further developed, which is also edible.
- Whenever you remove the excess water, ensure that there are no water wells left inside the jar as this may spoil the germination process .
- The excess water from these ” washes ” is ideal for watering houseplants or keep it for cleaning issues.
- Spring water is the best to use, but if you don´t have access to spring water, use filtered or boiled tap water. But there are people who use tap water and the process still works.
- On the third day and you can eat the germinated seed. Each seed has its own germination and consumption time.
- If you’ve never sprouted seeds , it is best to do the first tests using lentils or chickpeas as they´re the simplest.
- For very small seeds you may have to resort to another method , as these germinating holes may be too large . They said at the workshop that you can replace the metal lid gauze tied with a rubber band , but i am yet to experiment …
I’ll let you know once i´ve tried!

0 Comments