Finally we have the recipe for oat milk vegan croquettes. It has taken us a few attempts to find the point, but finally we have managed to make delicious croquettes that will conquer any palate.
Which plant milk is the best for making vegan croquettes?
Without a doubt, after all the experiments we have done so far, homemade oat milk is our favorite. Homemade oat milk has a lot of natural fiber. The fiber acts as a natural thickener facilitating the process of making the béchamel. Note that this is not the case with packaged oat milk. The packaged plant milks have been pasteurized, and in this thermal process, the oats milk fiber is transformed into simple sugars, losing all the fiber and with it the thickening quality.
Making the thickening quality of oats its virtue, we consider oat milk ideal for making béchamel as well as for preparing, for example, hot chocolate.
But let’s not deviate from the goal and let’s go with the croquettes’ recipe.
Oat milk vegan croquettes recipe:
Following the steps of the recipe you will get to make something very close to grandma’s croquettes, those that have a creamy texture and melt in your mouth.
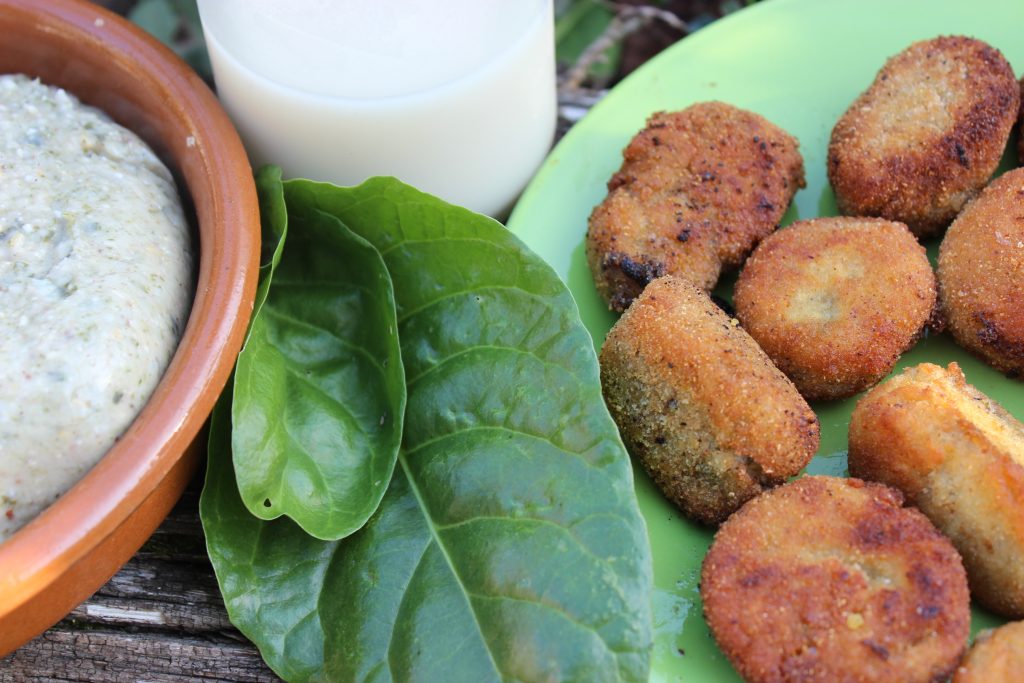
Ingredients
- 3 tablespoons of flour (50g) – sifted to avoid lumps
- 500 ml homemade oat milk – lukewarm
- 2 tablespoons margarine
- Nutmeg (a flick of the wrist is enough, too much can spoil the dough)
- 1 large red onion – chopped
- Salt
For the breading:
- Flour
- Bread crumbs
- Vegan egg: mix 2 tablespoons of ground flax with 6 tablespoons of water and let stand for 30 minutes until it takes on a gelatinous texture.
Preparation of the croquettes:
Preparation time: 1 hour
- Chop the garlic and onion finely and sauté in a frying pan over medium heat with the vegetable margarine. When it has poached a little, add the flour and mix well.
- Add the oat milk (preferably warm) a little at a time. This will help the dough to bind better. Every time you add a splash of milk, stir well with the help of a manual pastry stick or a wooden spoon to mix the flour well.
- Let the mixture cook over low heat until it bubbles. It is kept at this temperature for at least 10 minutes, adding more milk if necessary and stirring constantly until the ideal texture is achieved. The longer it is on the fire the better the flour cooks and this improves the flavor of the dough. I like to cook it between 20-30 minutes.
How do we know the exact point of the Bechamel?
After 10 minutes of cooking, it is necessary to check the texture of the dough. When the béchamel sticks to the spoon and even if we lift it, not a drop falls, it is time to remove the dough from the heat. This is the moment to blend it with a hand mixer to obtain a homogeneous and smooth béchamel. Then spread the dough on a plane pan and let it cool before proceeding to bread the croquettes. It is recommended to put it at least 2 hours in the refrigerator so that it becomes solid.
The last step: breading the croquettes.
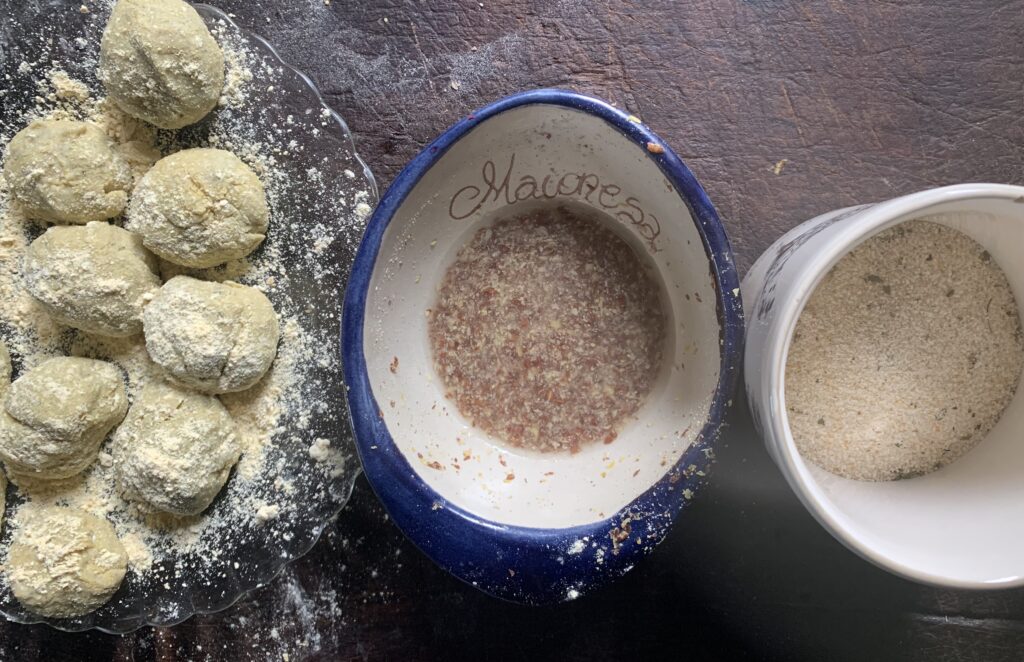
- We smear our hands with flour to handle the dough well and make the balls without sticking to our hands. We take small portions of dough that will be coated in flour and then molded with our hands until we shape them into balls.
- When we have finished making all the balls we bread them. First they are dipped into the vegan egg and then into a bowl with breadcrumbs and shake well so that they are well breaded.
- Finally they are fried in very hot sunflower oil, preferably in a small and high frying pan with enough oil to cover the whole croquette.
- Remove them to a plate with kitchen paper to absorb the excess oil and they are ready to be served.
How to make flavored croquettes.
- Croquettes can be made with many other ingredients that provide an endless variety of flavors. At the moment I have tried to make chard, spinach, mushrooms, mushrooms and shitake.
- To do this, poach the vegetables, mushrooms or ingredients that we choose to give a touch of flavor in a separate frying pan. They are added to the béchamel carefully and with as little oil as possible in the last minute of cooking. After adding the chopped ingredients, it is advisable to mix the dough well with the help of a hand mixer so that it is smooth and easy to pick up.
- If we see that the dough is liquefied by the mixture, take it back to cooking until it takes again the ideal texture. Cheers!
Other recipes that may interest you:

0 Comments